How to Format an External Hard Drive for Mac
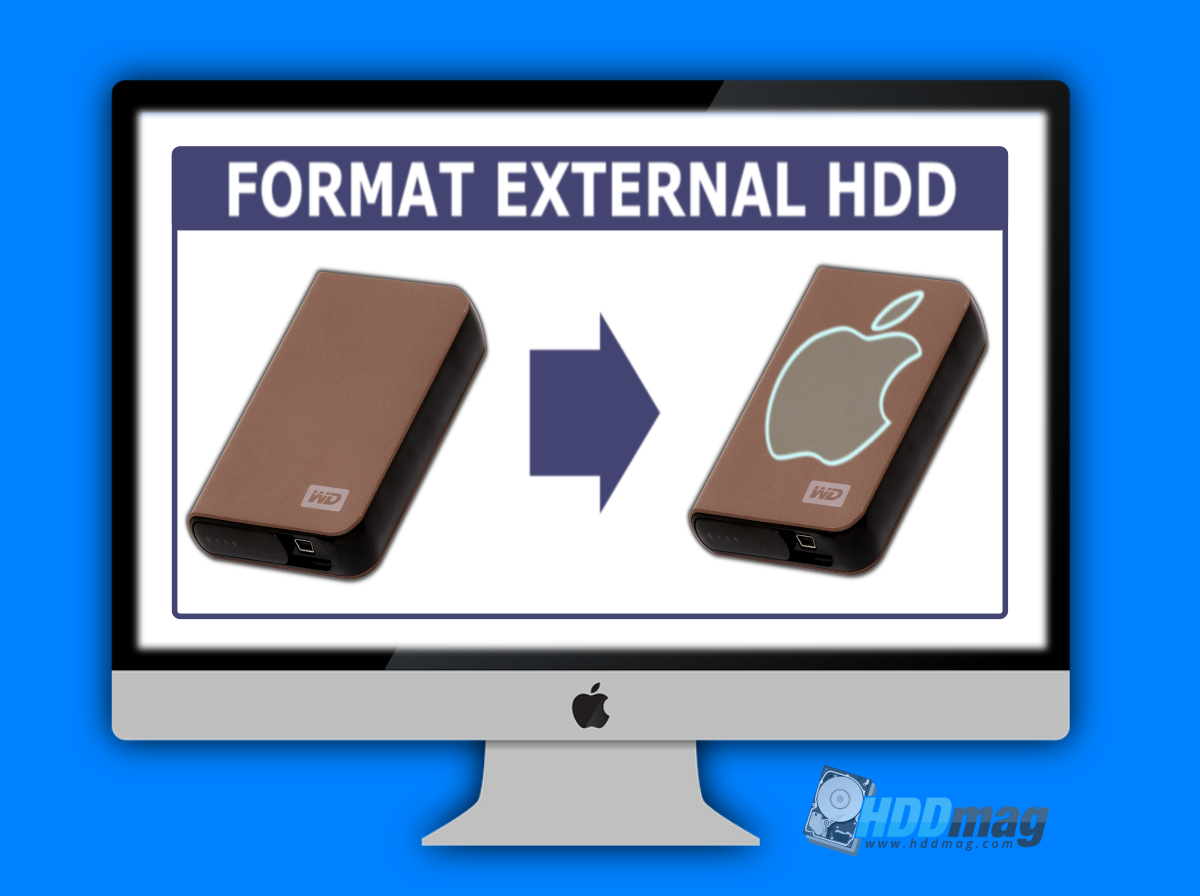
Pretty much all functions that modern computer devices can perform are either easy to understand and access or are done by the device automatically. Most, but not all, formatting drives being one that you have to do manually, Mac computers included.
A lot of people would gladly avoid such chores entirely instead of having to look up every term and action, many of these people being Mac users, who use Apple’s operating system for that exact reason – you don’t need as much tech knowledge as you do with managing a PC system. This is why we have compiled a short guide to formatting your hard drive and explaining what it means altogether.
What is formatting and why you need to do it?
Formatting is a process used to “tell” the hard drive the correct orders and logic paths to work with a certain operating system to ensure that the data you want to put on the hard drive will be accessible and recognizable by said OS. The reasoning behind this is that different operating systems use different protocols to save information on drives, for example, a Mac won’t recognize a hard drive that has been formatted for Windows usage and vice versa. In short, you need formatting to prepare the drive for working with a Mac system.
Note that formatting a drive or a partition of the drive (discussed further) will delete all data that the drive or partition holds, so make sure you don’t have any files that you might need on your external hard drive. In short, you need formatting to prepare the drive for working with a Mac system.
Partitions
We mentioned partitions earlier, but what are they? A partition is, in Layman’s terms, a “section” of a hard drive, kind of like a chapter in a book, except different partitions on the same drive have nothing to do with each other. This separation is the whole point of having partitions on a drive since you can save a Mac OS on one partition, a Windows OS on another one and have a third one for files such as music and images, which allows you to use the drive with different systems.It’s basically like splitting the drive into different pieces for different uses, just have those parts contained in one handy device.
It’s basically like splitting the drive into different pieces for different uses, just have those parts contained in one handy device.
Format External Hard Drive – Mac
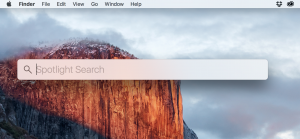
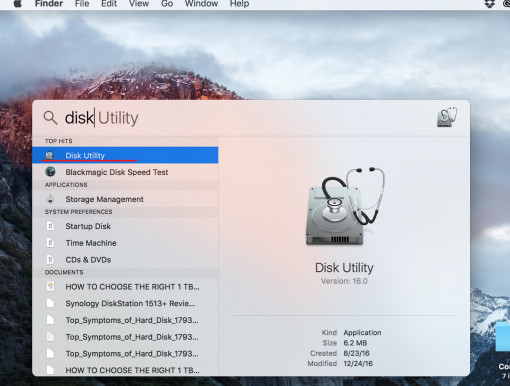
The default tool for formatting hard drives for a Mac is Disk Utility, which can be opened by typing “Disk Utility” in the Spotlight search bar in the top-right corner of your desktop or by locating it under Applications/Utility.
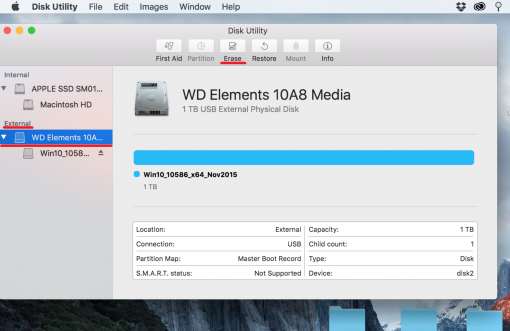
After you’ve opened the utility from the search list, you should see a window with a list of storage devices on the left. Choose your external hard drive on this list which will let you perform different actions with it (do NOT accidentally format the main internal drive).
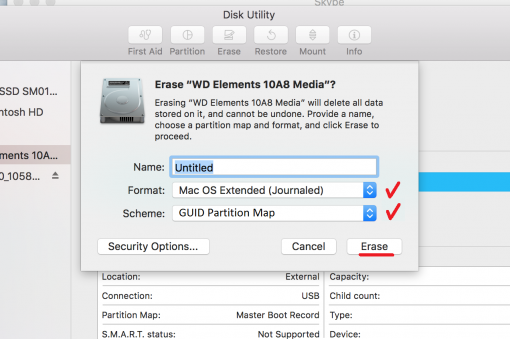
To format your drive, press Erase (as discussed before, formatting clears your drive of all data to prepare it for work), which will open a smaller window. In this window, you can enter the name of the drive (how it will show up on your desktop), choose the format and scheme.
The scheme, which is the method by which the hard drive determines its partitions etc., should be set to GUID Partition Map:
- GUID Partition Map is what the industry is moving toward in regards to compatibility.
- Master Boot Record scheme is used for compatibility with other PCs but is slowly being replaced by GUID
- Apple Partition Map is used by Mac computers that are closer to relic than useful computers nowadays.
For format external hard drive (Mac), which determines how any future files on the drive or partition will be treated, you should probably go for OSX Extended (Journaled):
- OSX Extended (Journaled) will encrypt all data on the drive, making it more secure and accessible only via a password.
- MAC OS Extended(Case-Sensitive, Journaled) is used to save multiple files with the same name, for example, Pic.jpg and pic.jpg would be two different files (a very niche option).
- MS-DOS FAT will be optimum for a drive that would be used with PCs and Macs alike since this format is the most compatible.
- ExFAT is also a very compatible option, however, this one is fit more for flash drives.
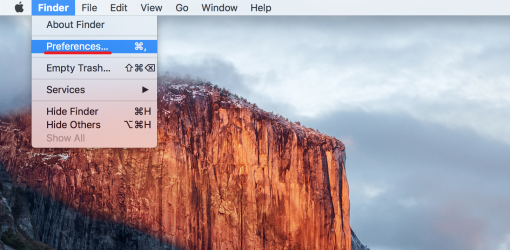
After naming your drive and picking the format and scheme, press the “Erase” button and the formatting process will start. When the formatting process finishes, your drive should show up on your desktop, but if it doesn’t, go to Finder/Preferences and make sure that external drives are marked to be shown on your desktop. After this, you should be good to go!

![Seagate Backup Plus Ultra Slim Review [2018]](https://hddmag.com/wp-content/uploads/2017/08/Seagate-Backup-Plus-Ultra-Slim-Review-Featured-768x353.jpg)
![Toshiba Canvio Connect II Review [2018]](https://hddmag.com/wp-content/uploads/2016/01/Toshiba-Canvio-Connect-II-Featured-768x414.jpg)