How To Migrate Data From Your Old Hard Drive to a New Laptop SSD
Using a solid-state drive instead of a spinning hard disk will drastically improve your Windows computing experience.
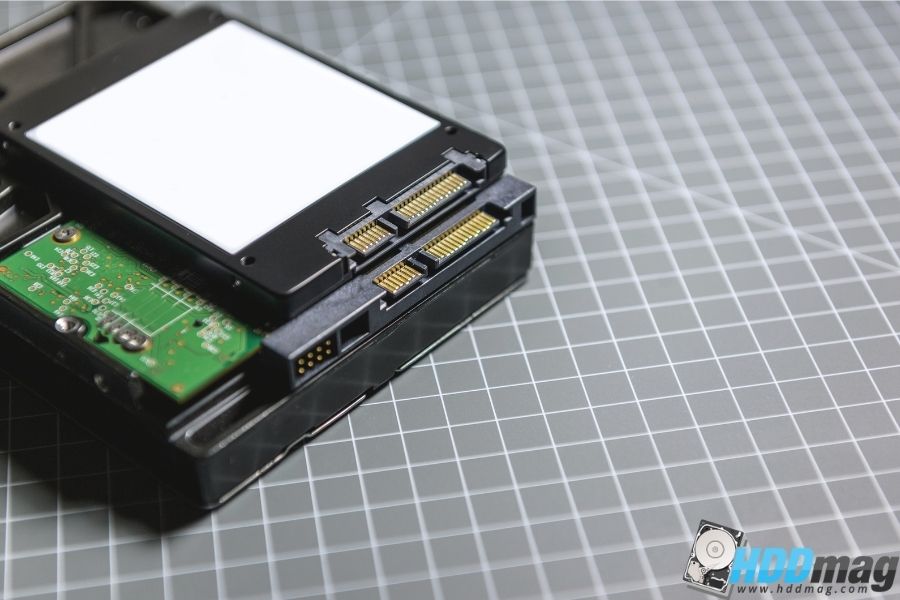
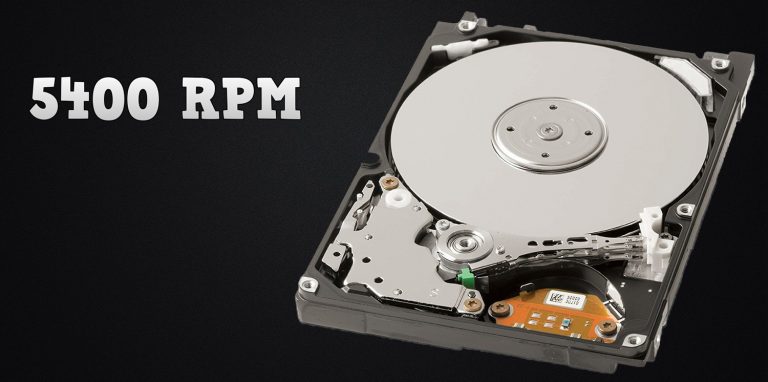
Once one of the most expensive and opulent storage devices on the market, an SSD is now much more readily available and inexpensive; a 1TB model can be purchased for a little over $100. The data is stored on integrated circuits, usually in a flash format, and this technology is considered a significant improvement over traditional mechanical drives, or HDDs.
Unless you need a lot of storage capacity, this older hard disk format is almost useless in today’s world. SSDs have replaced HDDs and eMMC, a more compact but less capable storage option, in the vast majority of laptops. SSDs’ maximum storage capacity is also increasing rapidly.
Migrating Your Windows From HDD to SSD
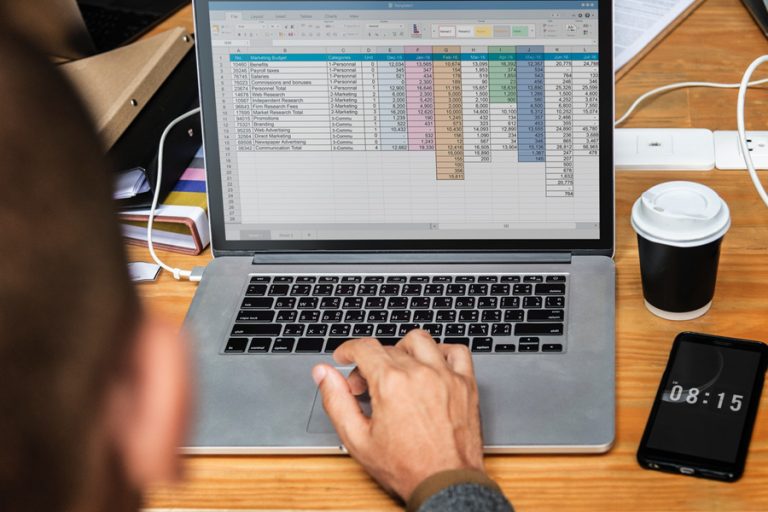
Installing Windows 10 on a new PC’s SSD is straightforward, but doing from an old PC’s hard drive is far more difficult. Even if you don’t have any vital data or apps on your HDD, moving your Windows 10 installation to an SSD is a big decision. Doing so, on the other hand, will have an immediate impact on the performance of your system and the overall user experience.
This type of migration is a major operation that needs a significant amount of time and attention in order to be completed successfully. Many people, especially those who don’t want to risk losing their most crucial information, think it’s not worth the effort. Those that successfully migrate Windows to an SSD, however, report a noticeable improvement in speed and responsiveness.
What Are the Steps To Move Windows From HDD to SSD?
It’s critical to tidy up your files before copying or relocating them to ensure a smooth transition. Fortunately, Windows has a cleaning tool that you should use first.
Step 1
In the Windows search box, type “disk cleanup” and select the corresponding link.
There will be a list of file kinds on the window that you may use to select which files should be deleted. Review the file types carefully because many of them include data that you do not require (temp files, recycle bin data, etc.). As a precautionary measure, it’s usually a good idea to delete nothing.
Near the bottom of the window, you’ll see a Clean Up System Files button. As a result, you’ll erase a few more files, such as previous Windows installations if you’re part of the Windows Insider program. The Disk Cleanup program resets any modifications you made to the original Windows file.
Selecting OK will launch the Disk Cleanup utility, which will begin the task of cleaning up your computer. If you have a few gigabytes of data, the procedure should not take long.
Step 2
A straightforward cloning option isn’t available with Windows 10 and 11, so you’ll have to move your OS to a new hard drive. Many apps are available to help you achieve this, which is fantastic news. Windows 10 may be transferred from an old hard drive to a new SSD with the help of specialized backup apps (or similar migrations). We’ve narrowed it down to a few of our favorites, which are all free.
a. EaseUS Todo Backup
This backup utility has a user-friendly interface for both power users and newbies to Windows to enjoy using.
b. EaseUS Partition Master Professional
If you’re looking for a more professional solution with superior data management features, Partition Master is the option for you. The free trial version, however, should suffice to finish your relocation.
c. AOMEI Backupper Standard
This is a good option for long-term backup. If you enjoy the notion of employing backup and cloning tools for future projects but don’t already have a solution, this software is a great choice.
Once you’ve downloaded your backup tool, now is an excellent time to backup your data. Take a peek at your tool’s primary menu. These tools all include a sidebar or top menu that includes options for backup. The phrasing can vary, so read carefully and follow the given prompts. Then, before beginning the migration process, give yourself plenty of time to finish the backup.
Step 3
Restart your computer and check to see whether the hard disk has been detected this time. Then launch the backup program you chose. Look for the option that reads Migrate OS to SSD/HDD, Clone, or Migrate on the main menu.
A new window will pop up, and the application will ask you to select a destination drive among the ones on your computer. Choose your new SSD as the destination, then make sure the destination disk has adequate space for the new files. This is easy; simply check “My Computer” on your PC.
EaseUS Partition Master displays important information about the data on each disk in drop-down window.
Step 4
Restart your computer when the migration is complete to make sure everything works as expected. After the transfer procedure is complete, your utility should alert you or you may select to restart your PC automatically. Restart your computer again after this is complete to be sure you got everything right.
You may then decide to delete the backup tool or keep it for future data management.
Important Details to Note
If you’re using a desktop computer, the new disc and the old disc should both fit just well because there’s plenty of room. When it comes to laptops, things get a bit more complicated.
However, you will simply require your old hard drive, from which data will be migrated; your new SSD, to which data will be migrated; and a backup of all your data, as this project will only clone the system files.
The good news is that data may be copied from one huge disc to another considerably smaller one with the utility tools we showed you earlier (EaseUS Todo Backup, EaseUS Partition Master Professional, AOMEI Backupper Standard).
What Are the Steps To Move Files From HDD to SSD?
Now that you have moved the operating system and a few programs (like games) from an HDD to an SSD, you may be wondering how to transfer your files. The good news is that the process is relatively simple. Here are the steps to take:
- Back up your files. It’s always a good idea to back up your important files before making any changes to your computer. This way, there is no risk of losing crucial information if something goes wrong.
- Connect your old HDD and new SSD to your computer. Make sure they’re both connected properly and that the SSD is recognized by your computer.
- Open Windows Explorer and locate the folders that contain your files.
- Copy the files from the old HDD to “paste” them into the new SSD.
Please note that the cloning tools (EaseUS Todo Backup, EaseUS Partition Master Professional, AOMEI Backupper Standard) also have this feature, but it may not be available on the free/trial versions. Here is another way of backing up the data with external hard drive.
Conclusion
By the time you’re done, your system should perform just as well as it did before, if not better, due to the increased speed with which it processes jobs with an SSD. When it comes to job duties that need the usage of many tabs and programs, this will be a welcome enhancement for business laptops. Faster systems can help you work more efficiently, but they can also reduce your stress levels.
As a laptop may be stolen or misplaced, it is a good idea to back up your personal files. By doing this, you’ll be able to resume your work as soon as you obtain a new device, even in the face of the most catastrophic events.

![Top 6 Fastest External Hard Drives for Xbox One [2018]](https://hddmag.com/wp-content/uploads/2017/05/fastest-xbox-one-external-hard-drive-768x512.jpg)