Best Multipurpose PC build for under $1000 2019
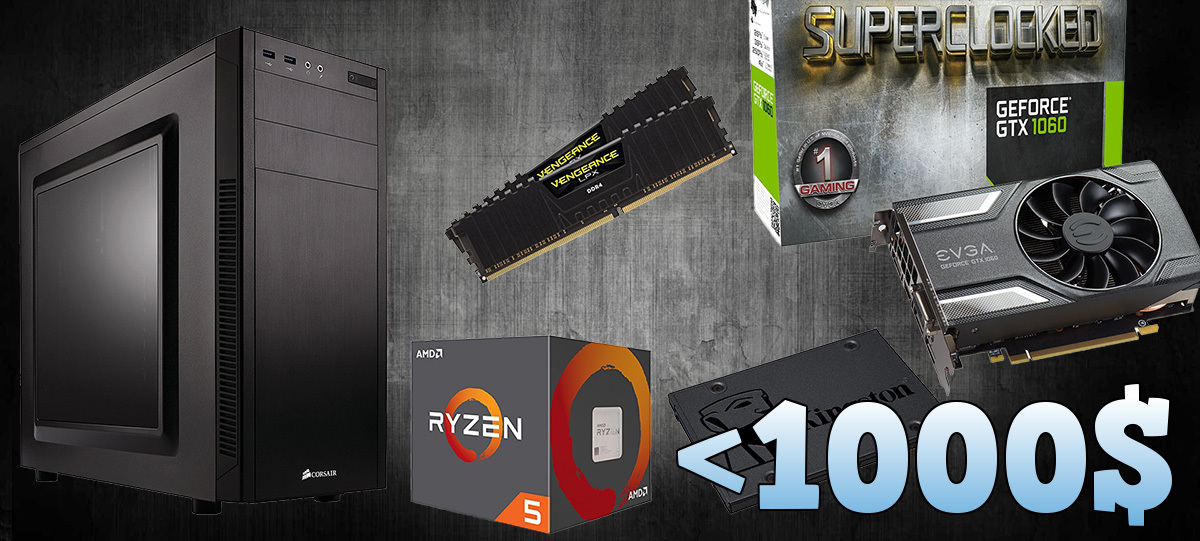
If you plan to build a PC and have a budget of 1000$, this article is made exactly for you. Before we start with components and why this build is so good, I would like to note that we didn’t just take all the components from the internet and put them together. This is a real build that I made for my work computer. All component picks are based on deep research keeping in mind both – performance and price.
See our other builds:
Productivity/Gaming PC
Let’s start by determining what this PC is built for. As I already mentioned, I made this computer for my work where I have to deal with a lot editing, some rendering and also when there is spare time – play games. When building a PC, I bet most of you want to have one that you can play latest games on – entertain yourself as well as be able to do some work on it. I believe that up to date, this is the best Multipurpose PC build that costs no more than 1000$ ( 944,13 to be precise). Actually, you will have spare 50$ to spend however you want to.
To make it more simple, this is the best we have come up with for both – gaming and working. This PC is able to run heavy software like Photoshop and AutoCAD with out any problems as well as play most demanding games on maximum settings. When paired with a multi purpose monitor like AOC Q2781PQ, you can get a superb system.
Build and components
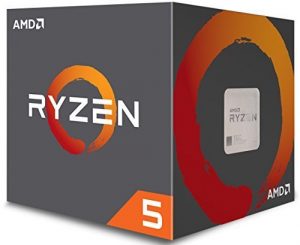
As a heart of this rig, we have chosen the best price/performance processor on the market – AMD Ryzen 5 1600. It has six physical cores as well as six virtual ones. it runs at 3.2GHz and can reach 3.6GHz in Turbo mode. AMD Ryzen is the way to go as it has way more processing power than similarly priced Intel I5 processor. See benchmarks below:
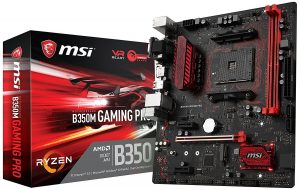
For a motherboard, I took MSI Gaming AMD Ryzen B350, it’s fairly cheap and will get the job done.
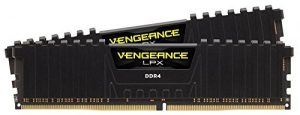
Next, RAM is Corsair Vengeance LPX 16GB, if you were building only a gaming PC, I reckon you cloud go only with 8GB. However, as we are building a future proof machine that will also be used for productivity which often uses a lot of RAM, 16GB is the way to go.
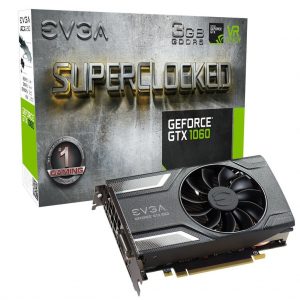
The video card is EVGA GeForce GTX 1060 3GB, it’s considerably cheaper than 6GB 1060 and performance difference is only about 5%. The overall 3GB version is a much wiser choice, if you want a better performing video card, step up to GTX 1070. However, with GTX 1060 3GB, you will still be able to play all newest games on maximum settings. See benchmarks below.
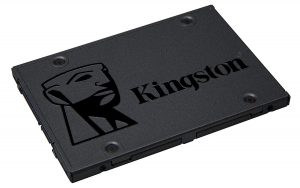
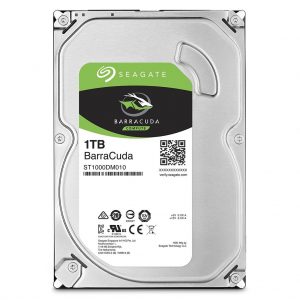
When it comes to memory, I went with 240GB Kingston Digital SSD and 1TB Seagate Barracuda. SSD storage capacity will be enough for your OS and software, games you use the most. For everything else – 1TB HDD. Most of the users won’t use even a half of this capacity.
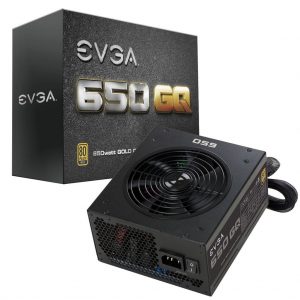
For the power supply, I decided to go with EVGA 650 GQ, 80+ GOLD 650W. EVGA has proven itself as a brand that makes superb power supplies, you can rely on it with out a doubt and 650W is the sweet spot between power consumption and performance.
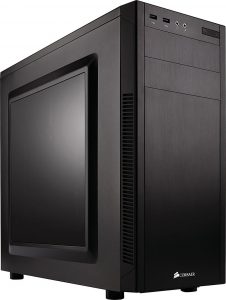
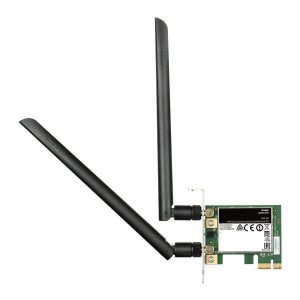
The case is Corsair Carbide Series 100R. It’s fairly sleek and classy looking featuring two USB 3.0 ports at the front. The best thing is – it’s also fairly cheap. And at last, I also included PCI Dual-band Wi-Fi adapter D-Link DWA-582, AC1200. It’s much easier to connect your stationary PC to Wi-Fi than dealing with an ethernet cable.
Living with this build
To be honest, this rig can handle anything I throw at it flawlessly and I’m sure that it will manage to do so for years to come. Overall, it seems very future-proof. The heart – Ryzen 5 1600, will go on for years. With time you can upgrade RAM to 32GB and change video card to something more powerful, but I bet you will only start to think about something like this not earlier than in 2-3 years. For now, it’s probably an overkill. Of course, don’t expect it to be top-end gaming PC that has 150fps in all games. But then again ask yourself “Do I really need so much fps?” The answer is probably no. For example, I can’t tell difference between 60fps and, for example, 100fps. Can you?
I mostly work with Photoshop sometimes a bit with AutoCAD and then play games like Witcher 3, Battlefield 1 and GTA V. Everything runs smoothly. I’m more than satisfied.
Components
1. Processor – AMD Ryzen 5 1600

AMD Ryzen processor series shocked the world with their performance and not less – the price. You could get a processor that has almost twice performance of similar Intel Processor for almost twice as low price.
AMD Ryzen 5 1600 is one of the best and most future-proof processors on the market. It’s more like a competitor to I7, not I5. As we are building multi purpose gaming/productivity PC it’s great. It has 6 physical and 6 virtual cores, 12 threads, and frequency of 3.2Ghz which can reach 3.6Ghz on Turbo mode. Multicore performance blows Intel away meaning it’s much more superior if used for multitasking and productivity. If we would build a standalone gaming PC, I would probably take Intel i5 7600k over Ryzen. Yes, it only has 4 cores, but they run at higher frequency meaning it’s better for gaming.
However, for future-proof PC build Ryzen 5 1600 is much better than i5 and even some i7 processors. Overall performance is way higher and it costs less.
[amazonjs asin=”B06XNRQHG4″ locale=”US” tmpl=”Small” title=”AMD Ryzen 5 1600 Processor with Wraith Spire Cooler (YD1600BBAEBOX)”]2. RAM – Corsair Vengeance LPX 16GB (2 x 8GB) DDR4
For RAM I used Corsair Vengeance LPX 16GB (2 x 8GB) DDR4. It has two 8GB RAM sticks. It has a frequency of 2666MHz and will work just great with AMD Ryzen 5 1600. You don’t need a RAM with 3000MHz or 3200MHz as they often cost way more and performance increase just isn’t there. In our practice, there is no feel able difference between RAM Clock frequencies. Also, AMD processors run with the lower frequency than Intel ones there for this RAM will be just great.
[amazonjs asin=”B06XRDVY76″ locale=”US” tmpl=”Small” title=”Corsair Vengeance LPX 16GB (2 x 8GB) DDR4 2666 (PC4-21300) C16 1.2V for AMD Ryzen and Intel 200 – Black – CMK16GX4M2Z2666C16″]3. Motherboard – MSI Gaming AMD Ryzen B350
Nothing fancy about the motherboard. MSI Gaming AMD Ryzen B350. It’s a fairly cheap B350 motherboard that works great. It comes with all connections you would want: USB 3.1 Gen1 Type-A, Type-C. M.2 SSD slot. It’s compatible with Ryzen processors, you don’t really need anything more. Of course, you could also go with the x370 motherboard, however, we think it’s not worth extra 100$.
[amazonjs asin=”B06X3Y7KB5″ locale=”US” tmpl=”Small” title=”MSI Gaming AMD Ryzen B350 DDR4 VR Ready HDMI USB 3 CFX micro-ATX Motherboard (B350M GAMING PRO)”]4. Video card – EVGA GeForce GTX 1060 3GB
The video card is another very important component of this build. I have chosen EVGA GeForce GTX 1060 3GB as it’s the best card you can get for the money. Why exactly this version? First, because it’s one of the cheapest ones and surprisingly although it features only one fan, it’s better performing than some more expensive and fancy GTX 1060 3GB versions. You can read more about the difference between video card versions in our Non-Reference VS Reference Video Card article.
So why we didn’t choose GTX 1060 6GB? In my opinion, simply it’s not worth extra 50-60$. The performance difference between these two cards are about 5% and in real life, you won’t be able to distinguish any difference. Again, this is the best card for the money. If you want something more powerful, I advise going for GTX 1070.
[amazonjs asin=”B01KU2CIIY” locale=”US” tmpl=”Small” title=”EVGA GeForce GTX 1060 3GB SC GAMING, ACX 2.0 (Single Fan), 3GB GDDR5, DX12 OSD Support (PXOC), Only 6.8 Inches Graphics Cards 03G-P4-6162-KR”]5. Power Supply – EVGA 650 GQ, 80+ GOLD 650W
For the power supply, I went with EVGA 650 GQ, 80+ GOLD 650W. Simply because it’s good and reliable. 5-year warranty combined with the good EVGA name makes it ideal. 650W will be more than enough to supply your PC with all the power it needs.
[amazonjs asin=”B017HA3SQ8″ locale=”US” tmpl=”Small” title=”EVGA 650 GQ, 80+ GOLD 650W, Semi Modular, EVGA ECO Mode, 5 Year Warranty, Power Supply 210-GQ-0650-V1″]6. Solid State Drive – Kingston Digital 240GB
For SSD I took Kingston Digital 240GB. It’s a fairly cheap SSD made by a well-known brand. Capacity should be enough to store your most used software and games as well as operating system.
[amazonjs asin=”B01N5IB20Q” locale=”US” tmpl=”Small” title=”Kingston Digital, Inc. 240GB A400 SATA 3 2.5 Solid State Drive SA400S37/240G 2.5″ SA400S37/240G”]7. Hard Disk Drive – Seagate 1TB BarraCuda
Seagate Barracuda 1TB is a very cheap and good performing hard drive. In fact, most of us including myself, don’t use more than 1TB of capacity.
A combination of high data transfer speeds and low price makes this drive a great buy.
[amazonjs asin=”B01LNJBA2I” locale=”US” tmpl=”Small” title=”Seagate 1TB BarraCuda SATA 6Gb/s 64MB Cache 3.5-Inch Internal Hard Drive (ST1000DM010)”]8. Case – Corsair Carbide Series 100R
When it comes to PC case, you can choose what ever you like to and prefer. Everyone has their own taste. However, I chose to go with classy looking Corsair Carbide Series 100R. It features two USB 3.0 ports at the front meaning it’s great for quickly plugging in your USB flash drive or external hard drive. Also for the quality, it’s also surprisingly cheap.
[amazonjs asin=”B00RORBQNW” locale=”US” tmpl=”Small” title=”Corsair Carbide Series 100R Mid Tower Case”]9. Wi-Fi adapter – D-Link DWA-582, AC1200
At last, for some of you, this might be optional. However, to ease PC setup and fewer cables I decided to equip this rig with Wi-Fi adapter. For a stationary computer, PCi Wi-Fi adapter is definitely way better choice than USB adapter. I have had numerous of problems with USB wi-fi adapters on stationary PC because the case absorbs most of Wi-Fi signal, resulting in slower internet speeds and weaker range. The solution is using a USB extension cable. However, to ease things – get PCI adapter. D-Link DWA-582 AC1200 is a Dual-Band adapter that offers high speeds.
[amazonjs asin=”B00PVCVZ74″ locale=”US” tmpl=”Small” title=”D-Link Systems AC1200 Wi-Fi PCI Express Adapter (DWA-582)”]Conclusion
For a budget that doesn’t exceed 1000$, this probably is the best way to go. In fact, you’re left with 50$ that you can use, for example, to upgrade CPU to Ryzen 5 1600X or add a bit more and get Ryzen 7 1700. The best thing is, you will easily be able to upgrade this rig computer over years to come. All components offer the best price/performance ratio, meaning you get the most out of your money.
For multi purpose usage, this PC is great. You can work with Photoshop, edit videos, do streaming and render as well as play games.
Maybe there is something you would change in this build or got suggestions? Feel free to comment below 🙂


