How to Use an External Hard Drive on PS3
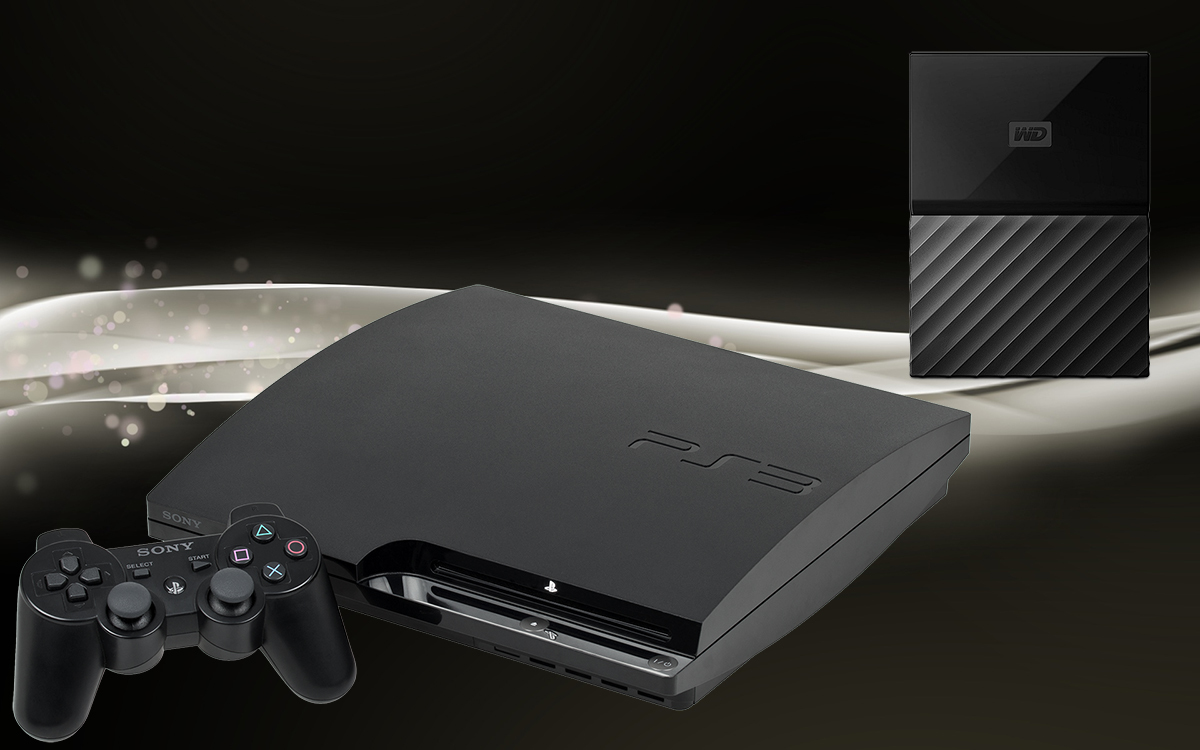
With PS3 you can do much cool stuff besides gaming – you can use it as a media player. You can play music, movies, view pictures and so much more. These things can be done via CD, DVD, thumb drive, and external hard drive that’s connected to your PS3. Sadly, you just can’t take any external hard drive, plug it into your PS3 console, and expect it to work. First, you have to do some formatting that’s not difficult. I will guide you through the steps you have to do to increase your PS3 storage capacity with an external hard drive.
If your Playstation 3 doesn’t recognize the external hard drive
You have found an external hard drive that you could use with your PS3 console. Or maybe you have bought a new external HDD especially for connecting it with your PS3 console. But the PS3 system doesn’t recognize your drive, it doesn’t show up anywhere? If so, you have to format your drive. Follow the steps below to make your external HDD compatible with your console.
Checking file system
- If your PS3 system doesn’t recognize your external hard drive, you have to check what file system is on your external HDD – FAT32 or NTFS. To do so, you have to connect your external hard drive to PC. Next open “File Explorer” and go to “This PC“. Now you should see all your drives. Note: if you don’t use Windows 10, The “File Explorer” will be named as “Windows Explorer” and “This PC” will be named as “My Computer.”
- Once that’s done – Right-click on your HDD and click “Properties“
- Now, look at “File system“, if it says NTFS, you will have to format your external hard drive to FAT32.
Note: Make sure you backup all data on your external HDD before formatting it as everything will be erased.
Formatting your HDD
Formatting PS3 external HDD is pretty much the same as Formatting External Hard Drive for PS4. Remember, unlike with PS4 where you can format your drive in FAT32 or exFAT when formatting drive for PS3 you only can choose FAT32.
Step 1
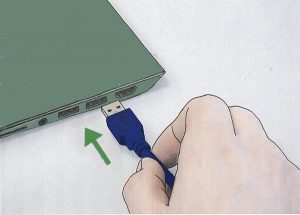
Attach the external HDD to the computer via a USB port.
Step 2
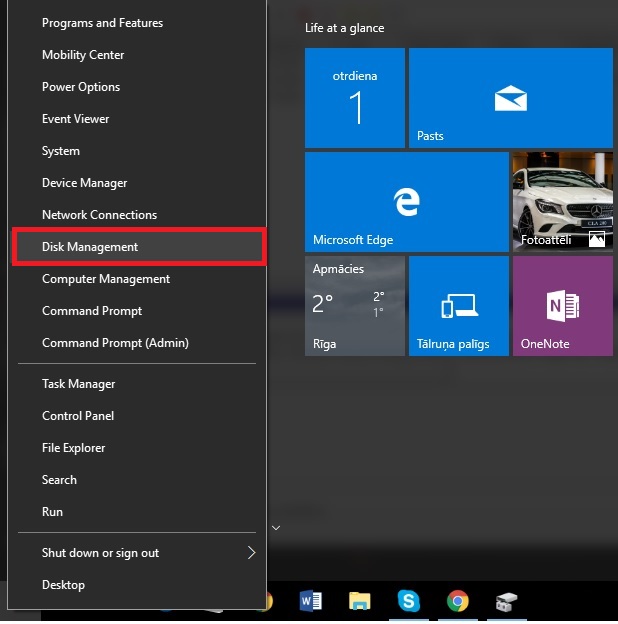
Open the Disk Management tab. In Windows 10, you can achieve this as shown in the picture. It’s fairly easy to find Disk Management on other versions as it’s present in the Control Panel.
Step 3
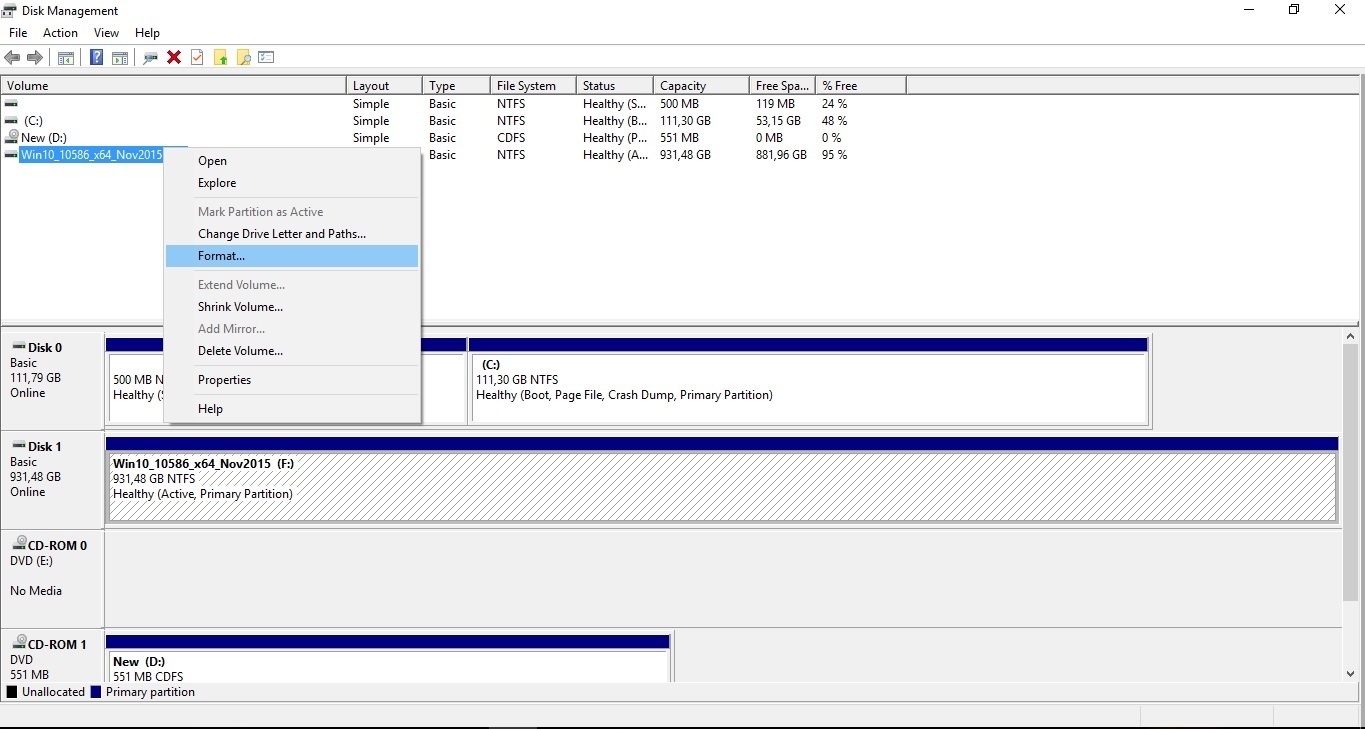
Locate the drive that you want to reformat, right-click on it, and click Format.
Step 4
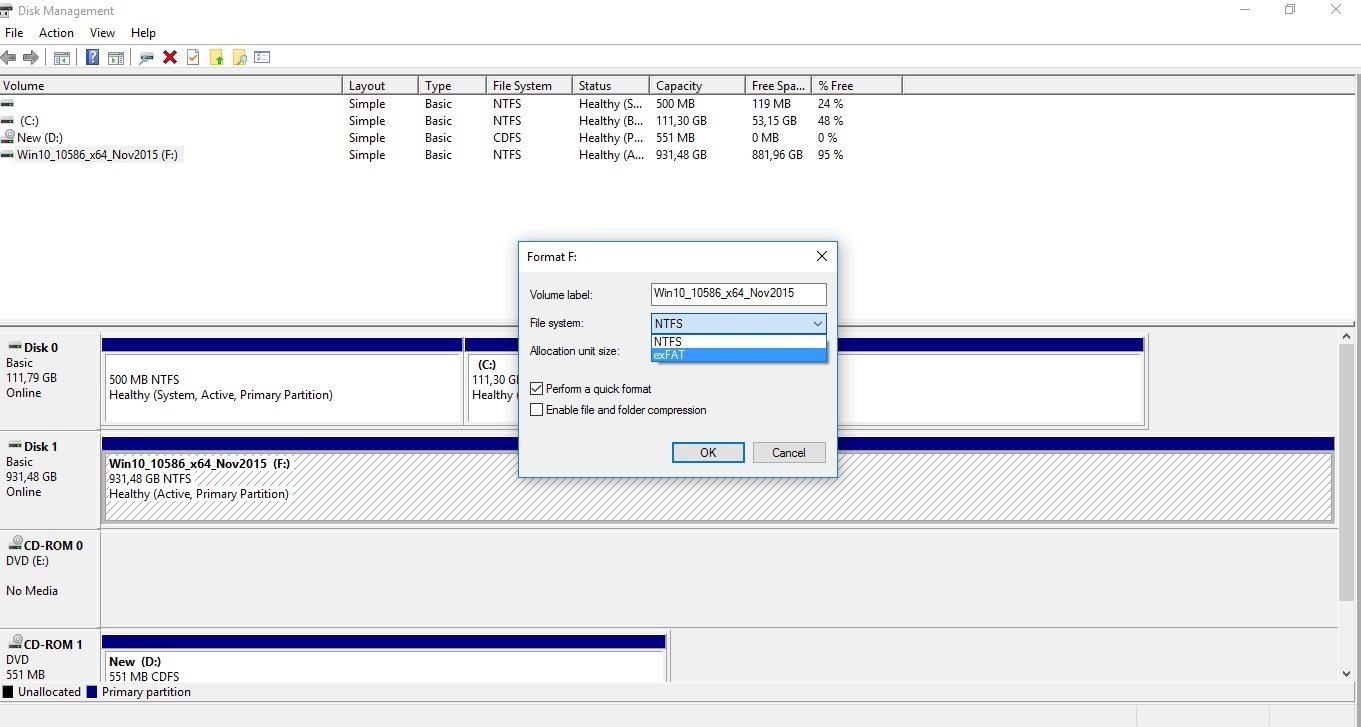
In the Format Partition section, select the file system FAT32 and check the Quick Format option. Then, click Next. A summary of selected settings will be displayed. Please remember that all data will be deleted from the drive, so make sure you have made a backup.
Step 5
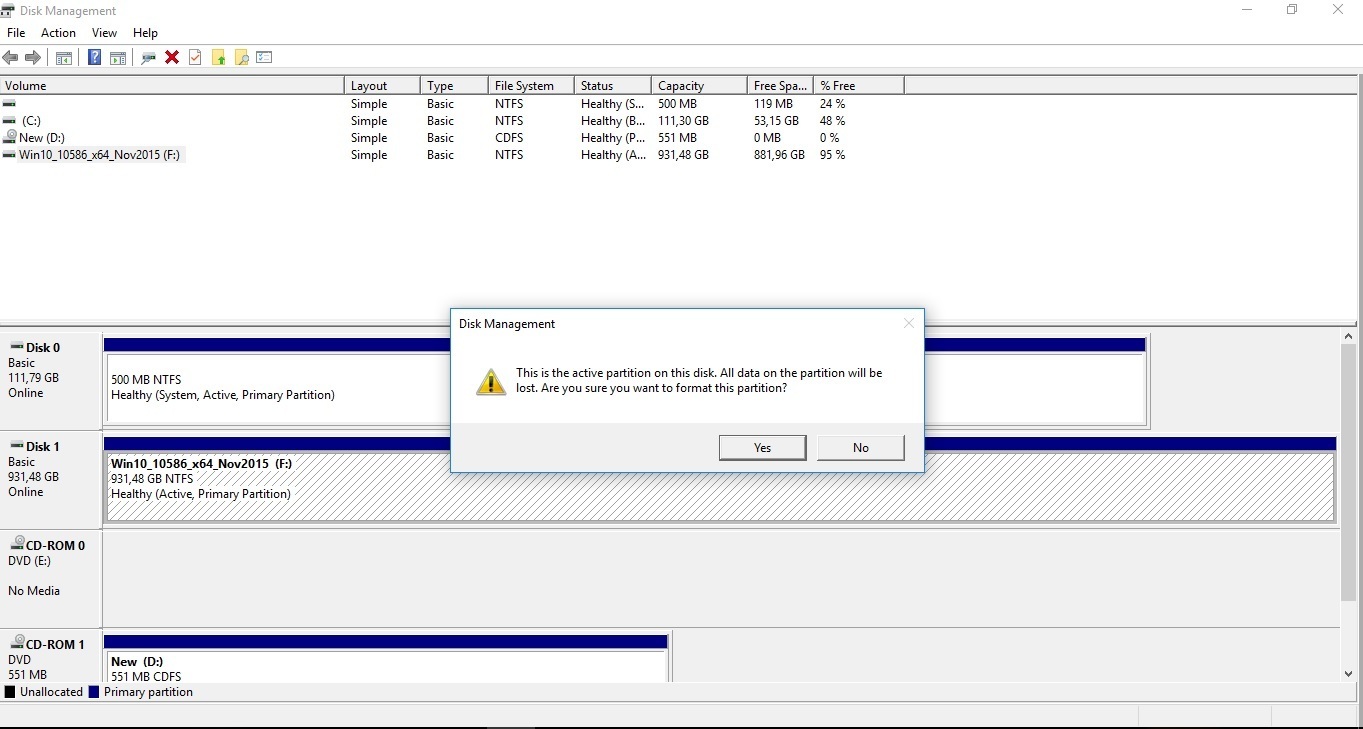
Next press Yes and that’s all you have to do to format the external hard drive for PS3. Now you can connect the formatted drive to your PS3 and it’s time to play. Cheers![/su_tab] [/su_tabs]
How to play media files from your external hard drive on a PS3 console
- First, you have to connect your external HDD to your PS3 console using one of two USB ports that are located in the front of your PS3 console.
- The next step is to power your PS3.
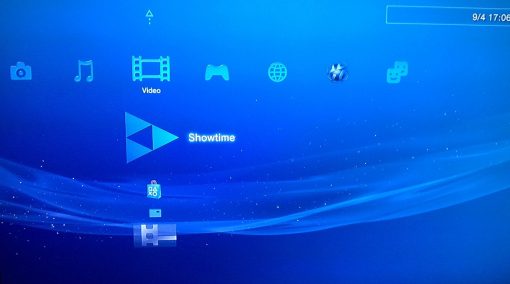
- Open the main menu so you can choose to play Videos, Music, or Photos.
- Now, press the “Δ” or triangle button when “USB Device” is selected and then choose “Display All.”
- All you have to do is what you want to view or play from the list. Once you’re done, just press the “X” button
- That’s it! Now you know how to view media files from your external hard drive!

