How To Back Up Data Using Apple Time Machine [Walkthrough]
We’ve come a long way from having so few files that we could manually copy them for safe keeping. Now we have terabytes of information stored in various nooks and crannies of our hard drives, so the only reliable backup option becomes a backup software.
Mac users are no different and, fortunately for them, Macs have an inbuilt backup tool called Time Machine. While the tool is straightforward and simple to use, there’s still a bit of know-how to using this piece of software to its fullest potential.
What is Apple Time Machine?
Apple Time Machine is a handy tool in Mac operating systems, used for automatic and manual backups of data. By default, it backs up everything (except some temporary cached files) in your primary drives to an external drive of your choosing. It covers most needs you could have for backups, allowing you to pick what folders are backed up and have different backups on different drives.
The only real downside, which might make you look for a 3rd party backup program, is that you can’t customize the frequency of backups. Even then Time Machine keeps multiple recent backups, just to make sure you have the right one.
Using Time Machine
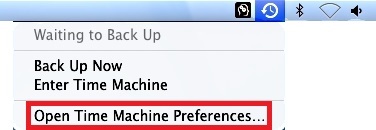
1. Open Time Machine from the System Preferences window. You might also already have it in your Menu bar, where you can right-click it and choose the Time Machine Preferences option.

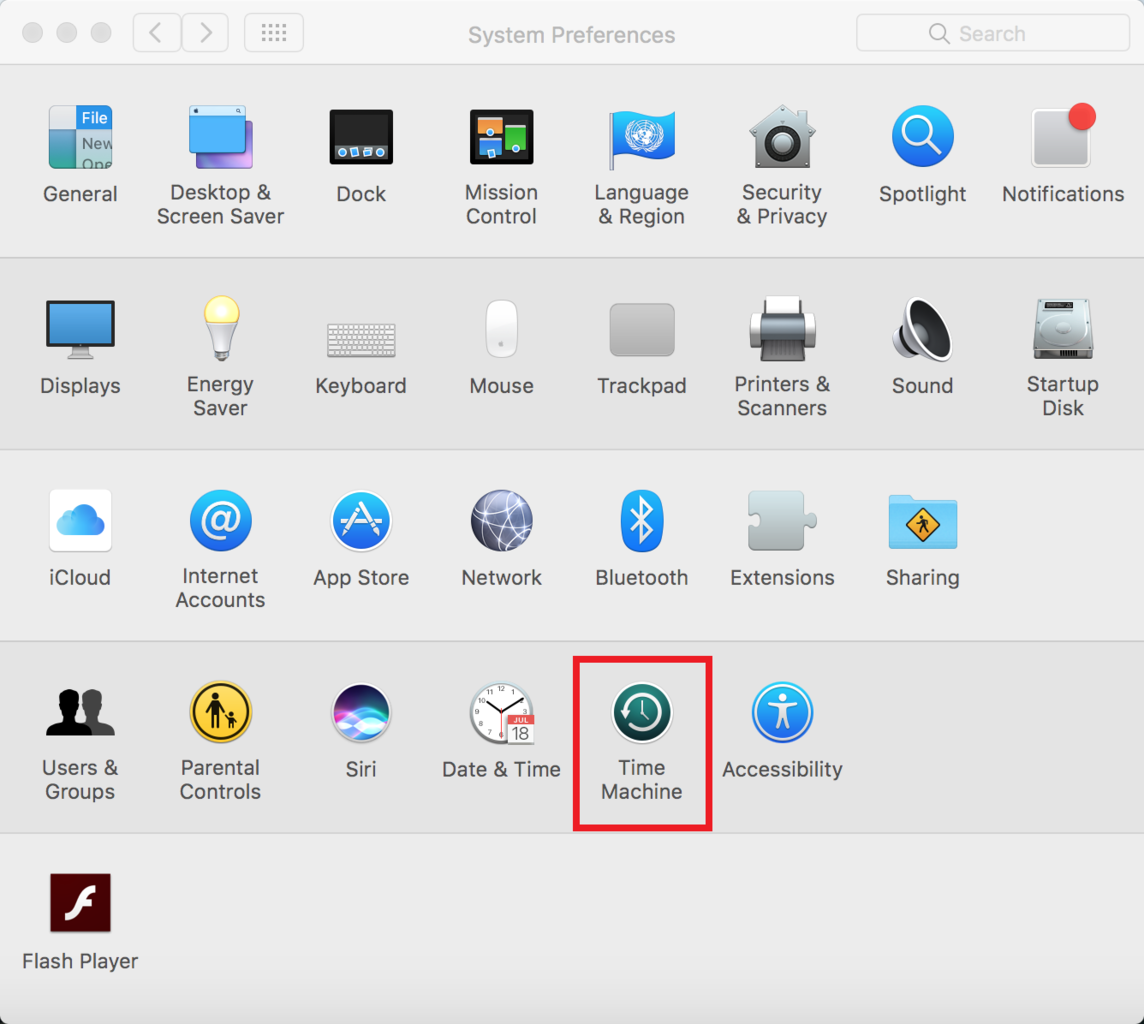
or
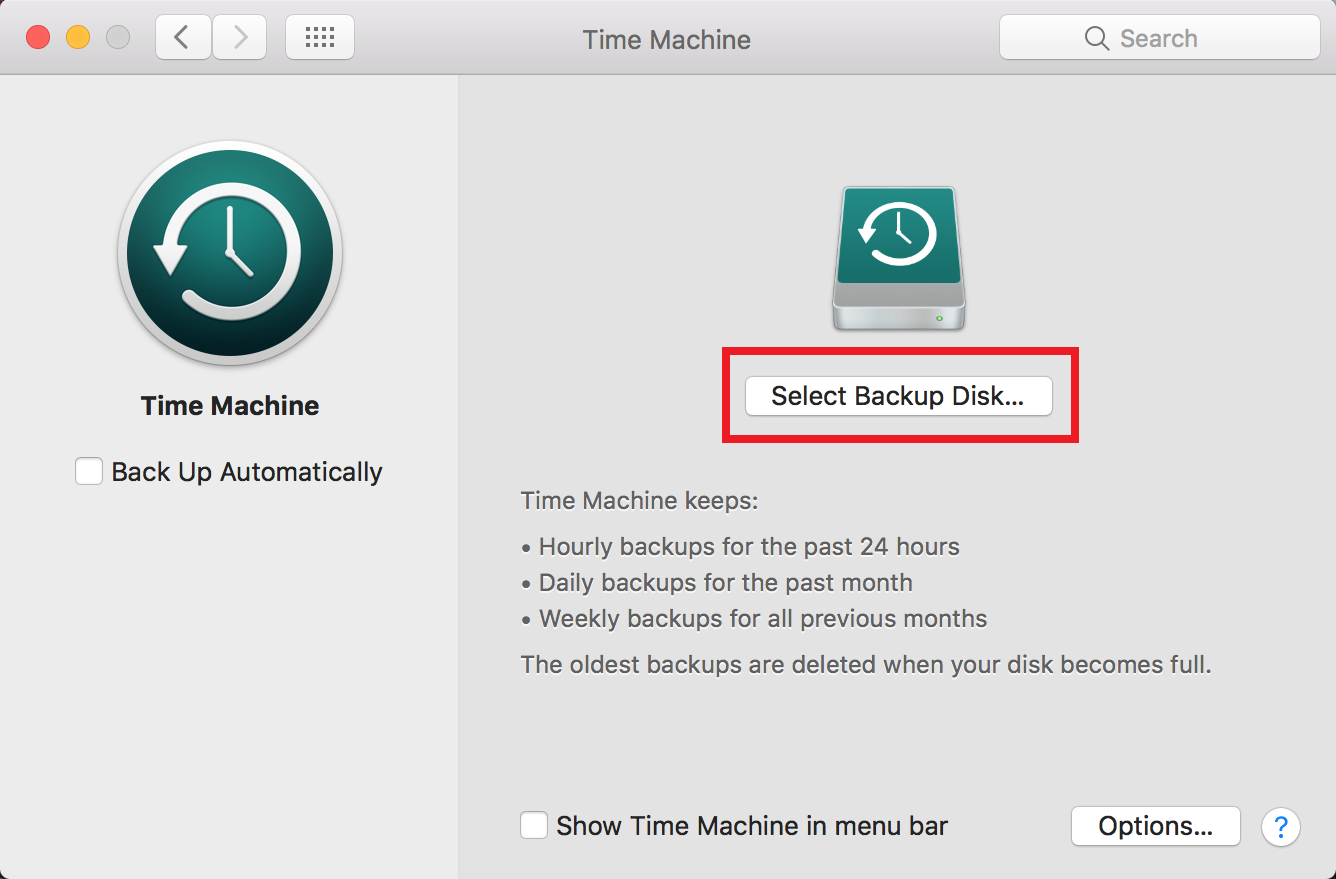
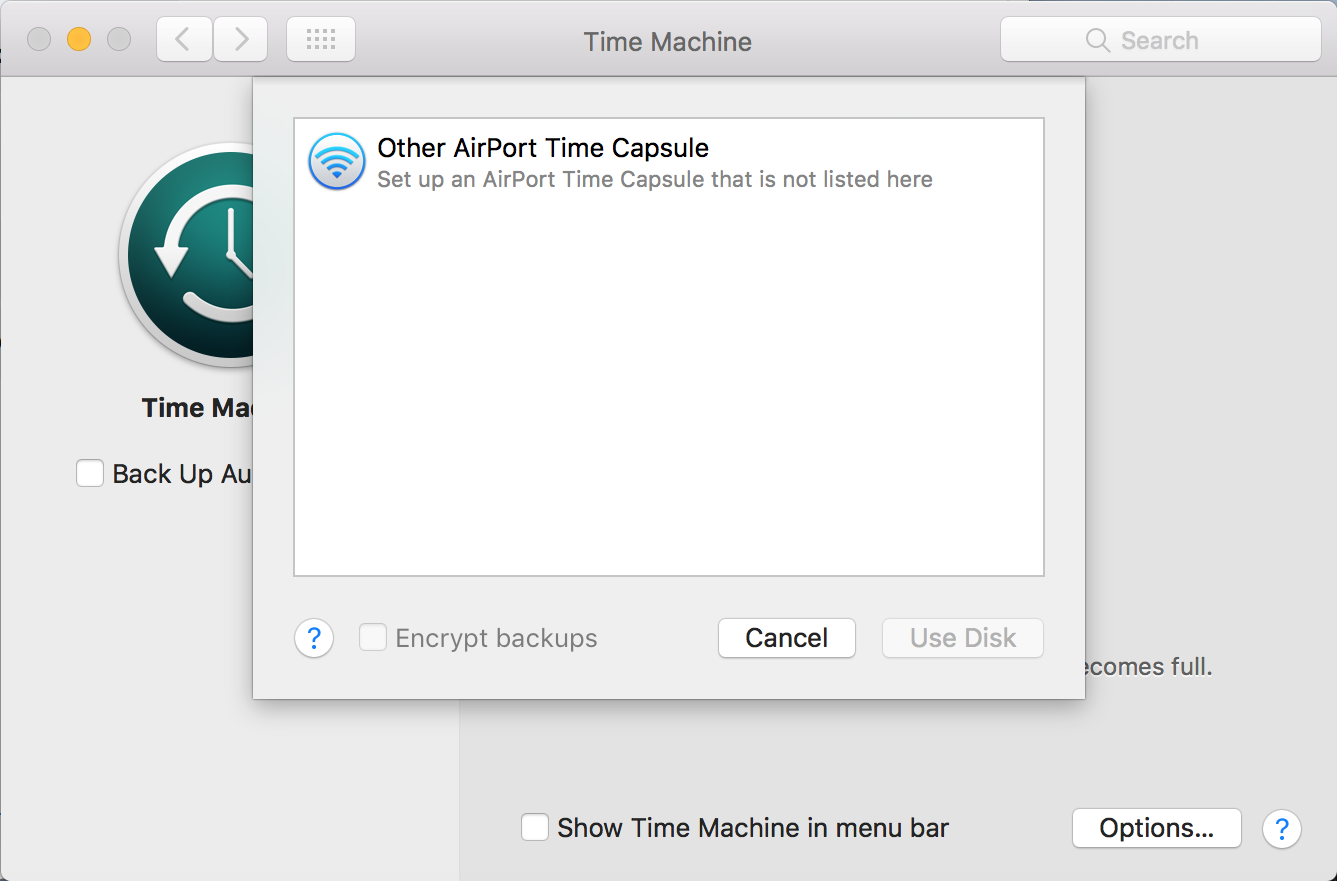
2. The Select Disk option will let you pick your external hard drive for backup. If you haven’t set up a backup drive before, upon plugging it in you will be prompted to set that drive as your backup. Later on, you’ll be able to customize what drives are used for backups (multiple drives can be used to back up different files).
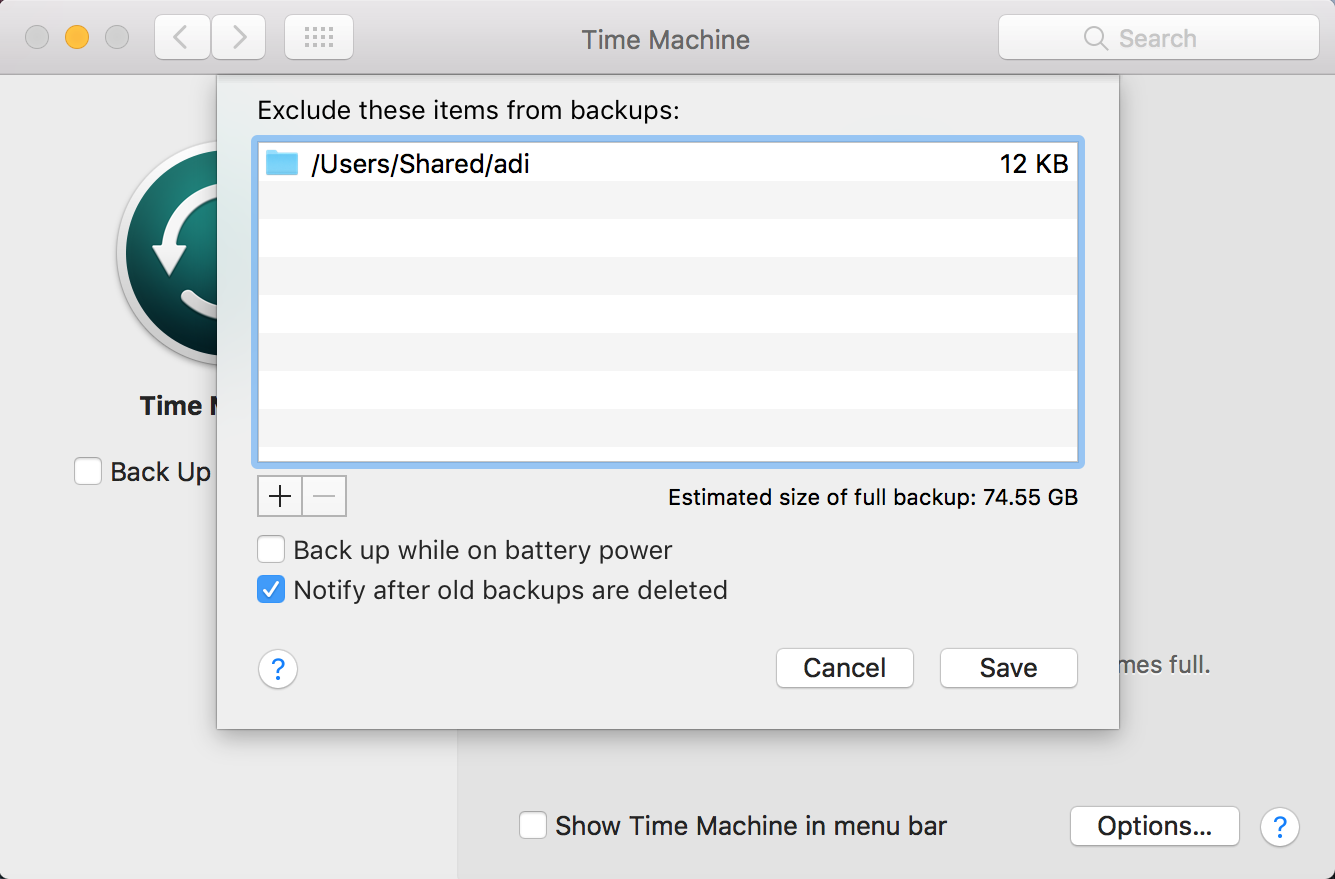
3. Click the Options button to pick what folders and files should be backed up. Click the “+” button to browse for folders, and the “-” button to remove them from the list of excluded folders. Unfortunately, this is where the customization process ends since you can’t change how frequently files get backed up. Time Machine backs up your system every hour, and stores hourly backups from the past day, one backup from every day of the last month, and one backup from every week of the months before, deleting the oldest backups when your external drive starts running out of space.
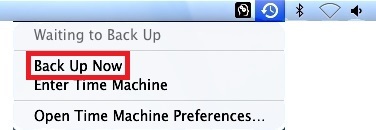
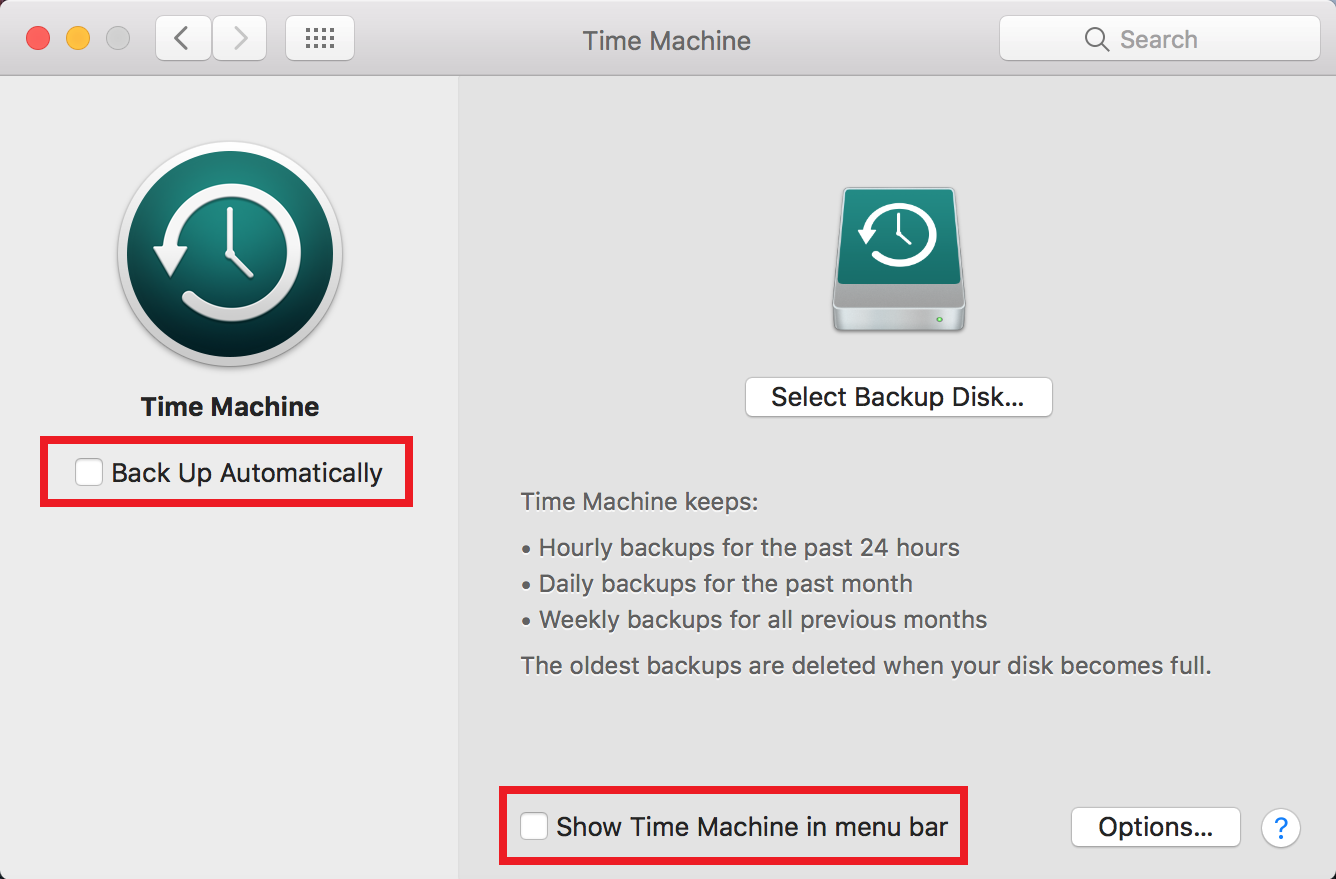
4. For manual backup, click the Time Machine icon in the menu bar and choose Back Up Now. If you want to always back up data manually, turn off the Time Machine in the preferences menu, by clicking the on/off switch, or unmarking the Back Up Automatically option. Also, make sure that Show Time Machine in menu bar is ticked for the Time Machine options to even appear in your menu bar.