Problem Solved: How to Allocate More RAM to Minecraft
You’re a busy person. You don’t get as much time as you’d like to enjoy Minecraft and your other favorite games. When you do have a few minutes to play, you don’t want to deal with system errors or a game that lags or crashes. Often these problems are caused by inadequate memory. How to allocate more RAM to Minecraft? Games like Minecraft create data as you play. As that new data takes up more room, you eventually run out of space. Your system has to try to remove data as fast as it can so that you can keep playing. Everything bogs down because resources are being used to remove data all the time instead of being available to the game.
If you’re getting errors related to memory while playing Minecraft, allocating more RAM can sometimes help. You can choose from multiple options to get this done. The process varies depending on which version of the game you’re using and whether you’re using a personal version or editing a server. Each version has some specific steps to take to do this, so you’ll need to do a little research to figure out which procedure to follow how to allocate more RAM to Minecraft.
Additional Information in How to allocate more RAM to Minecraft
A word of caution, though: You don’t want to dedicate too great a share of your resources to a single game. A good rule of thumb is to never exceed half to two-thirds of your system’s memory dedicated to Minecraft. Giving over too much memory can cause other issues, like lag-spikes from too much-unused data, and past a certain point, it won’t improve performance any further anyway.
So how much RAM should you allocate to Minecraft? There’s no right answer for every situation. It varies by system and what kind of difficulty you’re experiencing. However, most experts recommend adding 2GB to whatever amount of allocated memory you start with. So, if you have 2GB allocated, try going up to 4GB to see if performance improves before going higher.
Option 1: Using 2018 Version 1.12.2 With a Personal Version (How to allocate more ram to Minecraft)
Step 1:
Figure out how much RAM you already have allocated to Minecraft. To do this:
- Open Minecraft launcher, log in and start the game.
- Once the game loads, select the Singleplayer game mode option.
- Load any world, or if you don’t have one made, create a new one.
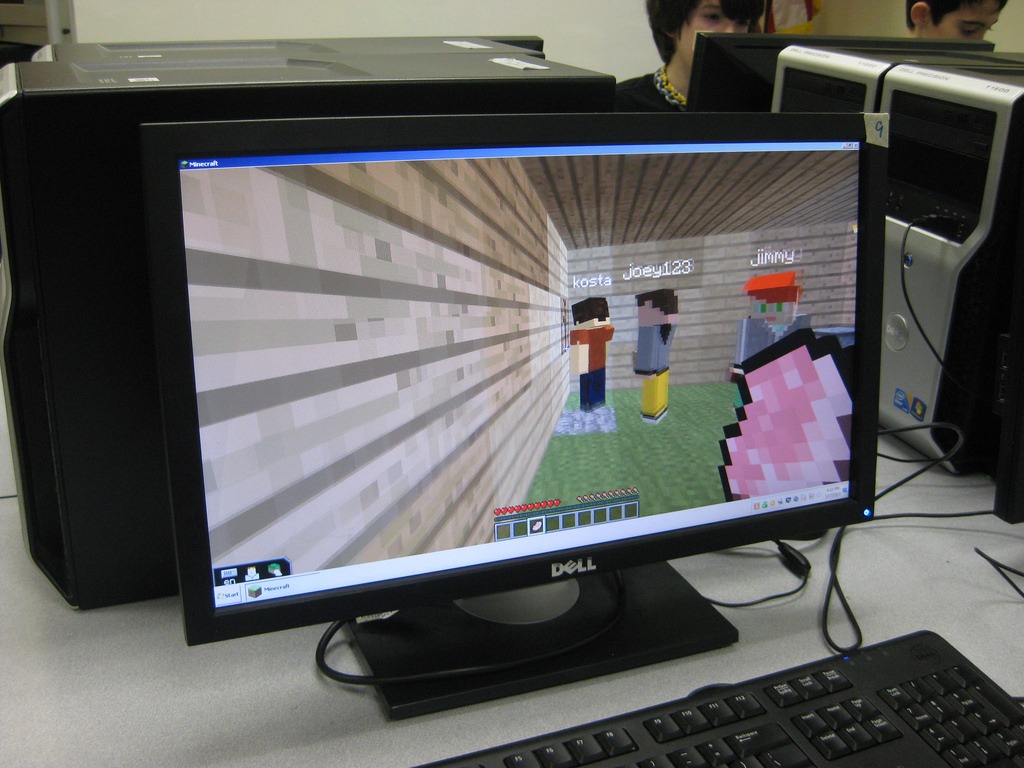
- Once the world opens, press the F3 key. Don’t be intimidated by all the information that comes up. Just look for the denominator (bottom number) of the figure displayed in the top right corner under the heading “Mem:.” This is how much memory is currently allocated to your Minecraft game.
Step 2:
Now that you know how much memory is dedicated to Minecraft, you can decide if you want to increase it. To do that:
- Exit your world and close Minecraft but keep the launcher open. You’ll need to access it for the next steps.
- In the launcher, select the Launch Options tab. Click the option that says Add New next to the inscribed plus sign.
- Name you new preset whatever you like, but it should be something you can easily find later if you want to go back and change anything.
- Scroll down until you see the switch next to the heading JVM Arguments. Turn this switch on so that you can enter data into the text box next to it.
- Copy this code into that text box: -Xmx2048M -Xms2048M. The important part is the number preceding the final M. If you want to allocate 1GB, change that to 1024. To add 2GB, change it to 2048, 3072 for 3GB, 4096 for 4GB, or 5120 for 5GB.
- Scroll all the way down and click the Save button to store your new preset.
Step 3:
Check your work by following the first step again to see if you completed everything correctly. If so, your game should show more memory allocated. The number won’t be an exact match to the number of GBs you entered due to the technical conversion of bytes, but it will be very close. Your game should now run more smoothly with fewer annoying error messages.
Option 2: Using Launcher Version 2.0.X (How to allocate more RAM to Minecraft)
With the personal version of Minecraft, you can allocate RAM using launcher versions 1.6 through 2.0.X. To figure out which one you have, look in the lower left corner of the launcher window to know how to allocate more RAM to Minecraft.
Step 1:
Before you can allocate more RAM to Minecraft, first, you need to know how much total memory your computer has available.
- If you’re using a Windows-based system, go to the Start menu and choose Settings, then System, then About. You will see an option called Installed RAM with a number beside it. Take note of that number.
- If you’re using a Mac, go to the Apple menu and choose About this Mac. Look for a number next to the Memory heading.
Step 2:
Then, check your version of Java to be sure it’s up to date. The easiest way is to visit java.com and download the latest version. If you’re working on a Windows system, check the bit version to make sure you get the right download.
Step 3:
Now you are ready to open the Minecraft launcher. Check your version, and if it’s 1.6.X, you need to switch to the method for that version of the launcher.
Step 4:
Look at the top of the screen for the Launch Options tab and click it.
Step 5:
If the Advanced Settings switch is not on, turn it on. You can find it in the top-right corner of the Launch Options screen. When it’s in the correct position it will be green.
Step 6:
If more than one profile shows up and picks the one you want to change. Thus, If only one shows up then just click that one.
Step 7:
Look for the JVM arguments switch. Enable it by clicking just to the left of it.
Step 8:
At this point, you can change the amount of RAM that Minecraft can access. In the JV arguments field, look for a line that starts with -Xm1G. Change the “1” to the number of gigabytes of RAM you want to grant to Minecraft. For example: if you’re changing it to two, the new figure would be -Xm2G.
Step 9:
At the bottom of the window, click Save, and you’re ready to play.
Option 3: Using Launcher Version 1.6.X (How to allocate more RAM to Minecraft)
First, follow steps 1 through 3 above and make sure you’re using Version 1.6.X of the launcher to know how to allocate more ram to Minecraft.
Step 4:
Choose your profile then click Edit Profile and select the one you want to work with.
Step 5:
Turn on JVM arguments by clicking the box next to it in the area called “Java Settings (Advanced).”
Step 6:
In the text box next to JVM arguments, you’ll see a string of characters, like -Xmx#G. Change the # symbol to the number of gigabytes you want to make available to Minecraft. For example: if that number is four and the new string would say -Xmx4G.
Step 7:
Save your profile by clicking the Save Profile button.
Option 4: Working on a Minecraft Server
Follow steps 1 and 2 of Option 2 described above.
Step 3:
Open your Minecraft server directory and look for a file with the name “Minecraft_server.exe.” If you’re having trouble finding it, you can do a search.
Step 4:
Now you’re ready to make a file on your server.
- On a Windows machine, choose the Home button and then New Item. Click Text Document, and a new text document will appear in the same area as the .exe file.
- On a Mac, choose the File button and then New and Text Document. The new text document will show up.
Step 5:
Henceforth, you’ll be entering a code into the text document. What you enter varies based on the operating system.
- On a Windows machine, enter:
java -Xmx####M -Xms####M -exe Minecraft_Server.exe -o true
PAUSE
- In the OS X operating system, enter:
#!/bin/bash
cd “$( dirname “$0″ )”
java -Xms####M -Xmx####M -exe Minecraft_Server.exe -o true
- In a Linux environment, enter:
#!/bin/sh
BINDIR=$(dirname “$(readlink -fn “$0″)”)
cd “$BINDIR”
java -Xms####M -Xmx####M -exe Minecraft_Server.exe -o true
Step 6:
Change the #### to the value in megabytes that you want to make available to Minecraft. For example: if you want to allocate 2GB, you would enter 2048 in place of the ####.
Step 7:
Hence, you’re ready to save the file but how you do that varies by operating system.
- Windows: Save it with an extension of .bat. To do that, click File and Save As and change the extension to .bat. You’ll need to enable file extensions if you haven’t already.
- OS X: Save the file as a .command file.
- Linux: Save it as a .sh file.
Step 8:
Run the new file.
If pesky memory error messages are interfering with your gaming enjoyment, figuring out how to allocate more RAM to Minecraft can help. Now that you have followed this guide and walked through the appropriate process for your setup. You should be on the road to making the most of your gaming time.
Featured Image: CC by SA, Kenming Wang, via flickr.