How to Use an External Hard Drive with Xbox One
Games today provide much more content than ever before, however, it comes at the price of data space, as more content means more programming that it’s based on. For example, games like Gears of War 4 or GTA 5 can easily take up around 60GB of space.
This is why most console users, who don’t have many options when purchasing their Xbox One or PS4 in regards to storage, often use external drives to store their games. This is why we wanted to teach you at least the basics of using an external hard drive with your Xbox One.
1: Choose your external hard drive
These days there are a million different external drives out there, so choosing the one that fits you may seem like an impossible task, but it is easier than you might think. First of all, you can only use drives that fit the Xbox One’s requirements:
- the drive uses the USB 3.0 connection
- the drive has at least 256GB of space
Once a drive has met these criteria, it’s on to finding what you want from the drive. When it comes to the main feature – storage capacity, 1-2TB drives will fit most people’s needs just fine, since they will hold a decent amount of larger games and a huge amount of smaller ones.
Data transfer speeds are also important since they determine how fast a launched game retrieves all its data from the drive, i.e. how fast it loads. However, with Xbox One, in particular, tests have shown a much smaller difference between faster drives like solid-state drives and slower hard-disk drives than it is for other consoles or PCs. This means that a fast, more expensive drive would be “bottlenecked” – the speed that it could provide would not be used to its full extent anyway, so you might as well save the money and buy a slower one with the same capacity. At the same time the simplest 5400RPM drives might be too slow, so you should probably settle for one that has 7200RPM.
To help you find the best external hard drive choices for Xbox One on the market, we’ve created a top 9 list of the all-around best hard drives for Xbox One S and another top 6 list of the fastest hard drives for Xbox One.
2: Connect your external hard drive
In most cases, your Xbox One will fully connect to the drive on its own, however, rarely it may not recognize the hard drive at first so you may have to troubleshoot it to have it connect properly and be used. The best guide for this situation would Xbox’s own troubleshooting guide, where most possible scenarios are looked at.
Once your Xbox One has recognized the drive, it will ask whether you want to use this for media files or games. To use it for games, choose the “Format storage device”. This option will delete all information that was on the drive previously and prepare it for work with an Xbox One console, so be careful not to have important files on a drive you want to use for this. After that, you will be able to rename the drive and choose whether it should be used as the default location for all future games to be stored on.
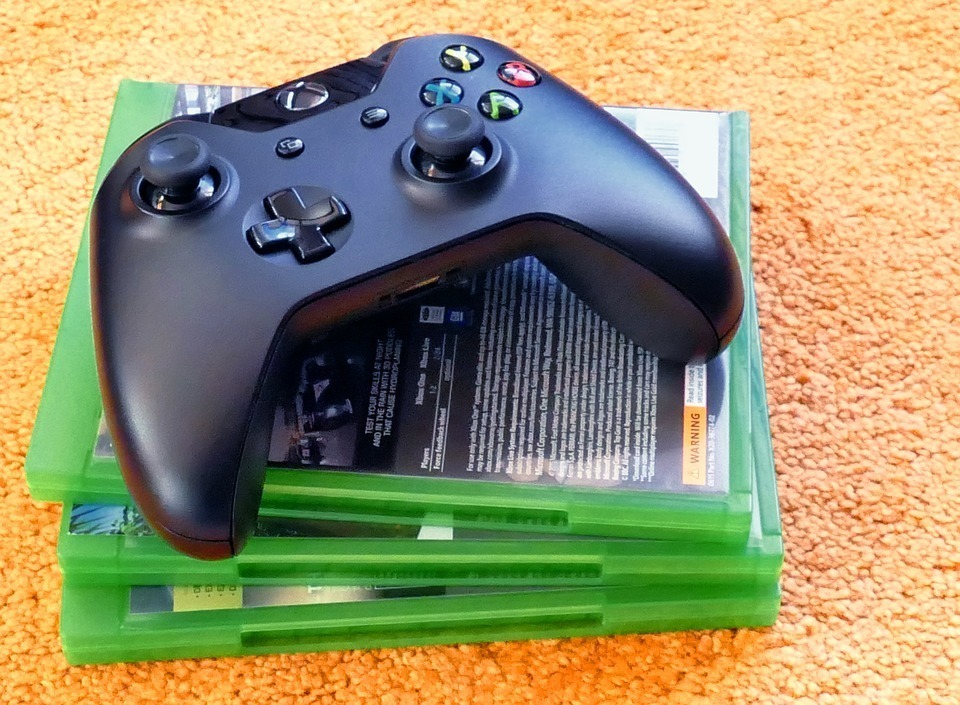
3: Use your external hard drive
If you’ve installed games on the internal hard drive that your Xbox One came with, you will most likely want to move them to the faster external drive you now have. Unfortunately, this has to be done with each game individually by choosing a game, pressing the menu button on your controller, choosing the “Manage game” option and then pressing “Move” or “Move all” if you have additional content.
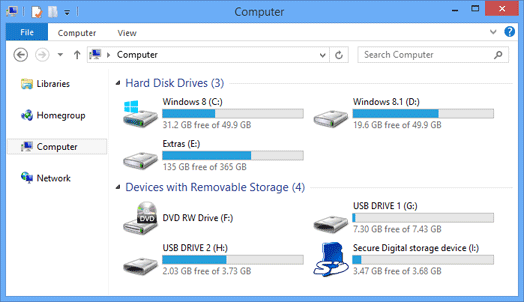
After all of your games have been moved to the hard drive, you can access them from the main game list and choose to view games on either all storage devices or your external drive in particular. Below is a visual aid to this, in the form of Xbox’s own videos.
We hope that you found our short walkthrough of using external hard drive with your Xbox One useful. If you have any questions that we didn’t look at, be sure to leave them in the comment section below for us to try and answer.

![Seagate Backup Plus For Mac Review [2018]](https://hddmag.com/wp-content/uploads/2015/03/Backup-Plusslim-for-mac-768x768.jpg)