Wi-Fi adapter not working on Windows 10 [FIX]
Wi-Fi adapter is a device that’s installed on your PC and receives a signal from your router. If the adapter doesn’t work, you won’t be able to use your internet. There are reports about thousands of problems associated with Wi-Fi and network right after people had upgraded their computer to Windows 10 when most of them had not a single issue while working on Windows 7 or Windows 8. Sometimes your computer can’t even detect Wi-Fi adapter that’s installed on your PC.
We have created this article to help you fix all issues associated with Wi-Fi adapter. There are three main things you can do before thinking about buying a new Wi-Fi adapter.
Solutions to similar network errors:
- How to fix weak Wi-fi signal on Windows 10
- Windows 10 can’t connect to this network
- Network protocol missing on Windows 10
- Broadcom Wifi can’t find wireless networks
1. Run Network Troubleshooter
Of course, you can start by resetting TCP/IP stack or do a registry tweak through Command Prompt, but to get things clear we advise running a Network Troubleshooter and see if Windows can correct its own mistakes. Running a Troubleshooter will scan your computer and then fix all mistakes if that’s possible. Often all you have to do is one click, and all your problems are solved. If that doesn’t help, try updating Network adapters drivers. Follow steps below to do previously mentioned things:
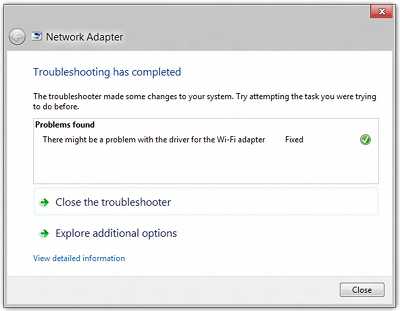
- You can perform a Network Troubleshoot in two ways. First, locate a Wi-Fi or network icon. Then right-click and choose “Troubleshoot problems.”

- Windows Network Diagnostics will scan your PC for any errors. Once the scan is done, windows will appear displaying all problems, if they are fixed and possible solutions.

You can also locate and troubleshoot your Wi-Fi adapter by doing following steps:
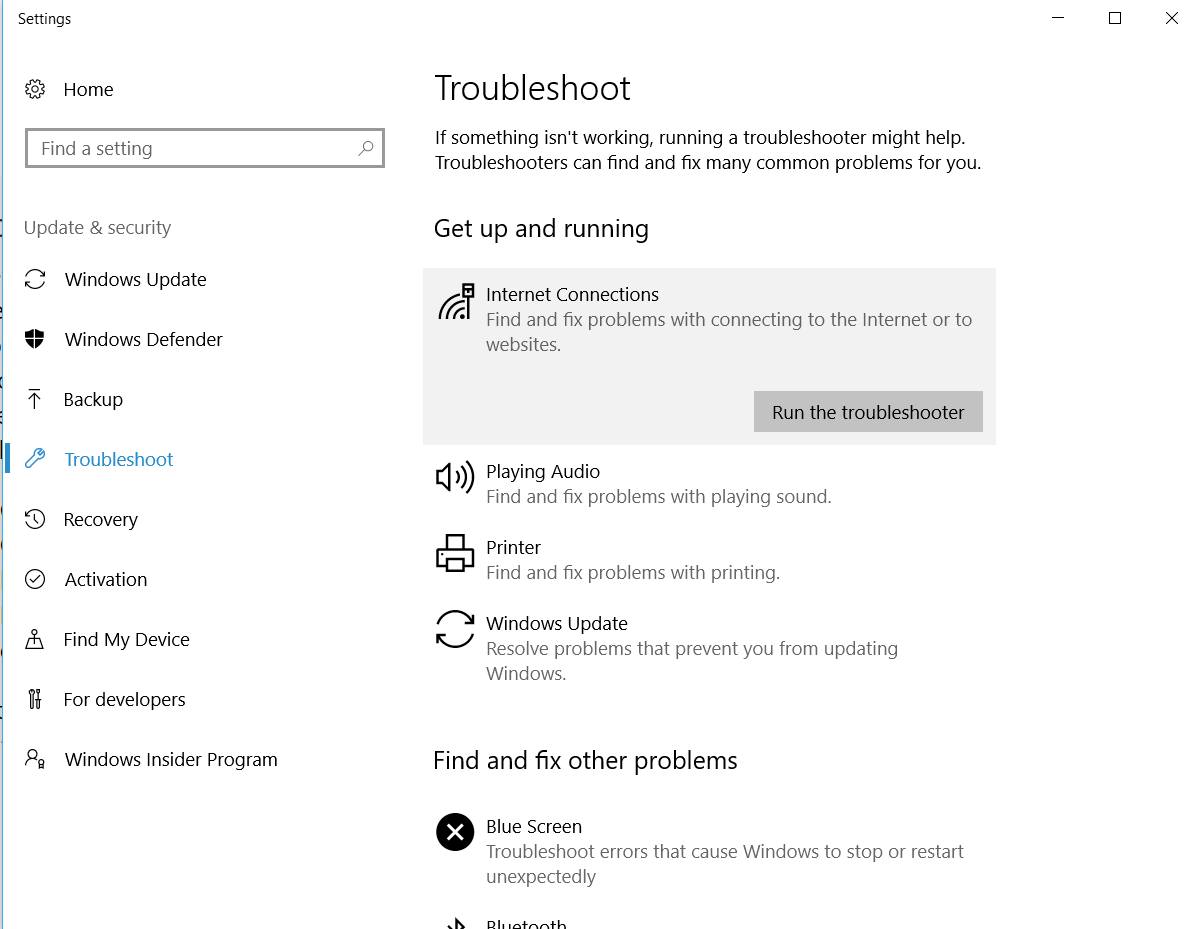
- Click Windows icon on the toolbar. Type “troubleshoot.” Open Troubleshooting.

- The following window will appear. Now you can choose what to troubleshoot. Choose “Internet Connections” and press “Run the troubleshooter.“


Once again wait until the scan is completed and when it is you will see possible solutions. Perform recommended solution if that’s possible. If not try our other solutions.
2. Updating Network adapters driver
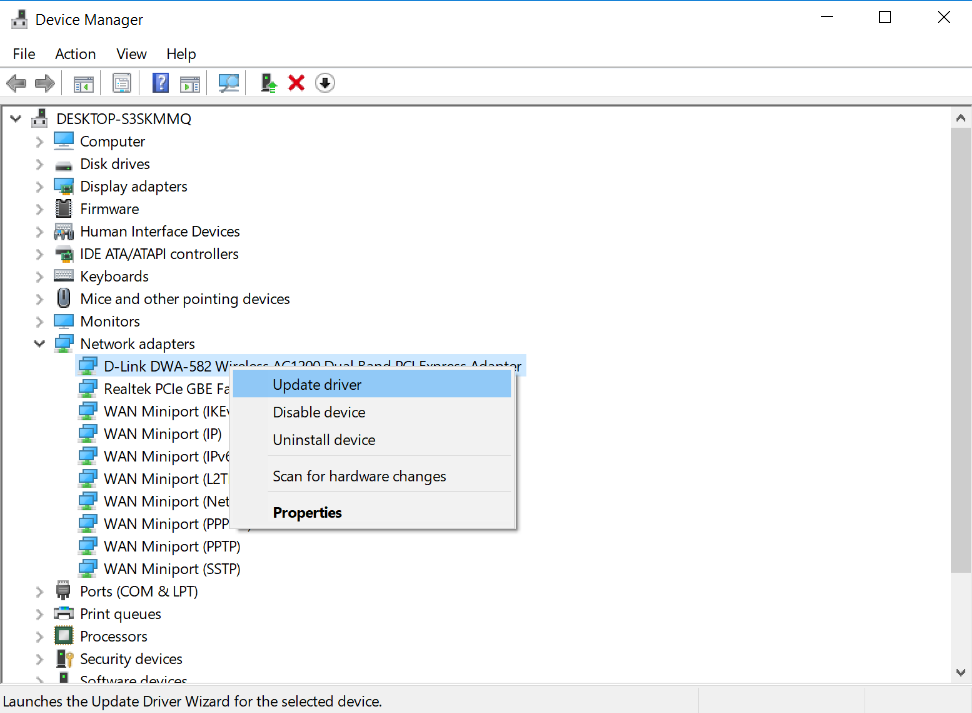
- In the Device Manager screen look for Network adapters. Now just locate your Network adapter, right-click it and press “Update driver“. You can also try to uninstall it so that computer on the next start up automatically installs default driver.

- If updating driver didn’t help, choose Uninstall device. Click Ok.
- Restart your computer. When your Windows launches, it will automatically install the default wireless driver.
3. Performing a registry tweak through Command Prompt
This method requires writing some commands on Command Prompt. Many Windows 10 users claimed that this fixes the problem with WI-Fi adapter in most cases. Follow steps below:
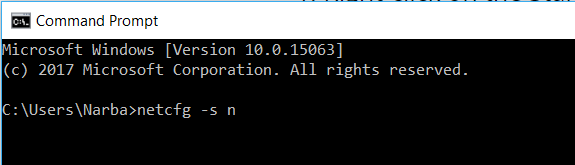
- To access command prompt, click start and type cmd. Right click on Command Prompt and choose Run as administrator. You can also access it by pressing Windows key + X or just right-clicking Windows icon on the toolbar. Once it’s done, in the menu choose Command Prompt (Admin).

- Once the Command Prompt window is open, type in or just copy-paste following command: netcfg –s n and hit “Enter.” With this command, you can see a list of network protocols as well as drivers. Take a careful look at this list and try to locate “DNI_DNE” if you find it, you definitely have a problem.

- If you have found the “DNI_DNE”, copy and paste the following command “
- reg delete HKCR\CLSID\{988248f3-a1ad-49bf-9170-676cbbc36ba3} /fnetcfg -v -u dni_dne” and press Enter.
- After entering previously mentioned commands, you should solve your issues and regain access to your internet. However, some of you might get an “error 0x80004002“. This means that the value is not the registry and it has to be deleted a bit differently. See solution below:

In Windows search section type: “regedit”. The Registry Editor will open. Next, you have to go path HKEY_CLASSES_ROOT\CLSID\{988248f3-a1ad-49bf-9170-676cbbc36ba3} and then delete DNI_DNE.
4. Resetting TCP/IP stack
If none of the previous solutions helped you fix the issue, you can try to reset TCP/IP stack. To do so, you will have to enter some commands in Command Prompt. Here’s what you have to do:
- Open Command Prompt. (To access command prompt, click start and type cmd. Right click on Command Prompt and choose Run as administrator)
- Now you will have to enter following commands in the exact order:
- netsh int ip reset
- netsh int tcp set heuristics disabled
- netsh int tcp set global autotuninglevel=disabled
- netsh int tcp set global rss=enabled
Once that’s done, restart your computer and check if you’re able to connect to Wi-Fi.
Other possible solutions
Sometimes weak Wi-Fi signal can cause issues. For example, if you are using a stationary PC with USB Wi-Fi adapter that’s plugged directly into the back of your PC, you might not be able to connect to your network as PC case absorbs radio waves. This can be simply fixed by connecting your Wi-Fi adapter to your PC through USB extension cable.
Somes the problem can be within the Windows itself. I have had problems with Windows many times. How did I solve them? Reinstalled Windows 10. There can be some kind of installation error that blocks Wi-Fi adapter, doesn’t let you install particular software like MS Office or Adobe Photoshop. When you have read tens of forums looking for an answer and nothing seems to work, but you know that your adapter is fine, reinstalling Windows might help. It has helped me numerous of times.


![“WiFi” doesn’t have a valid IP configuration on Windows 10 [FIX]](https://hddmag.com/wp-content/uploads/2017/07/Windows-10-featured-768x432.jpg)