How to backup computer to external hard drive

How to backup computer to external hard drive – three simple steps
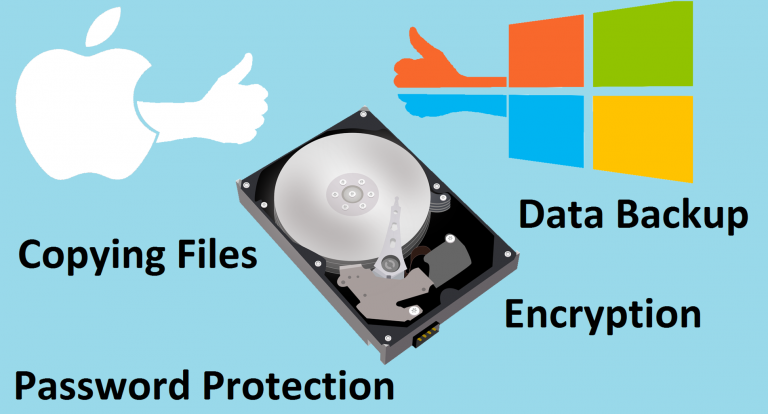
Most people never think about the importance of backing up their data until they lose an important file, and by then it’s too late. There is no reason for this to happen to you, considering that it is very easy to back up your files to a portable hard drive. There are two types of external hard drives: desktop drives that need to be placed near the computer to be backed up and require a power adapter, and portable drives that are small enough to be placed in a shirt pocket and generally connect to your computer using USB 2.0/3.0 ports or Firewire for Mac users.
Once you have your hard drive, here is the process for backing up your computer
- Connect the drive to your computer. If you are using a PC, a prompt will appear asking if you want to use the drive as backup. If this does not appear, click the Backup and Restore button which you can find by searching for it in the Start menu. If you have a Mac, click the Use as Backup Disk button or go to the System Preferences menu and go to Time Machine to set the drive as a backup disk.
- Next, click the Set Up Backup (for PC) and select the external drive to use; for Macs, click the Select Backup Disk button from the Time Machine menu.
- Finally, click on the Save Settings and Run Backup button (for PC) to start making your first backup; for Macs, you don’t need to do anything else once you’ve performed the previous step. This initial backup may take some time so do it when you have time to spare since you cannot turn off the computer while the backup is in progress and you also cannot perform work on it.
Once you’ve made your first backup, future backups will take less time since they will be performed in the background while you’re working. You also have peace of mind in case you lose a file since you can simply restore it from the backup. All you have to do is click on the Backup and Restore button (for PC) and then choose either Restore Users Files or Restore My Files. For Mac users, simply click the Time Machine icon and choose Enter Time Machine. You can then choose the file that you want to restore from the backups and restore them to your hard drive.

![MEMORY_MANAGEMENT error on Windows [Fix]](https://hddmag.com/wp-content/uploads/2017/07/BSOD-768x432.jpg)